I <3 these babies...I prefer them in cupcake form to the cake i must admit. The coconut tastes irresistible and not too over powering, the chocolate chunks just melt in your mouth. The best way to get your cupcakes looking fantastic is to place some chocolate chunks on them after they have finished baking and are still warm. it allows the chocolate to keep its shape. you can place these in cupcake cases after but I think they look great as they are...one last bit of advice, if you are using the recipe to make cupcakes use deep cupcake tins and you wont get the desired effect with shallow ones...
check it out guys
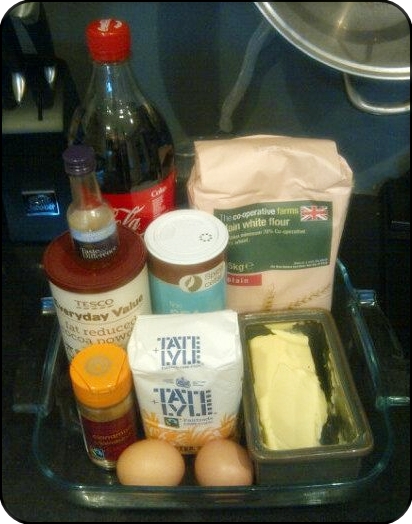
Ingredients
Cake
- 1 3/4 cups all purpose flour
- 2 teaspoons baking powder
- 1 teaspoon fine sea salt
- 1 cup unsweetened shredded coconut
- 3/4 cup sugar
- 1/2 cup (1 stick) unsalted butter, room temperature
- 2 teaspoons (packed) finely grated orange peel
- 2 large eggs
- 1 teaspoon vanilla extract
- 1 cup canned unsweetened coconut milk
- 6 ounces bittersweet chocolate bars (do not exceed 61% cacao), broken into 1/2-inch irregular pieces, divided
- 1/2 cup sweetened flaked coconut
Coconut Drizzle
- 3/4 cup powdered sugar
- 2 tablespoons (or more) canned unsweetened coconut milk
- 1/2 teaspoon vanilla extract
- Vanilla ice cream
Preparation
cake
- Preheat oven to 350°F. 175 c or gas mark 4
- Generously butter your cupcake tins or a 9-inch-diameter cake pan with 2-inch-high sides; dust tins/pan with flour, shaking out excess.
- Sift 1 3/4 cups flour, baking powder, and sea salt into medium bowl. Stir in unsweetened shredded coconut and set aside.
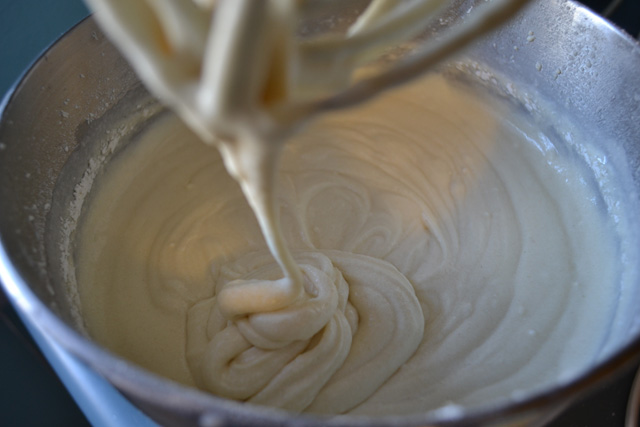
- Using electric mixer, beat sugar, butter, and orange peel in large bowl until light and fluffy.
- Add eggs 1 at a time, beating well after each addition.
- Beat in vanilla and add flour mixture in 3 additions alternately with coconut milk in 2 additions, beating just until blended after each addition.
- Fold in half of the bittersweet chocolate pieces.

- Spread batter evenly in prepared cake tins/pan. Sprinkle remaining chocolate pieces over batter, then sprinkle with sweetened flaked coconut.
- Bake cake until golden and tester inserted into centre comes out clean, tenting with sheet of foil if coconut atop cake is browning too quickly, 25-30 minutes for cup cakes... longer for cake...keep an eye out.
Transfer cake to rack and cool in pan 45 minutes.
coconut drizzle
- Whisk powdered sugar, 2 tablespoons unsweetened coconut milk, and vanilla in small bowl to blend well, adding more coconut milk by 1/2 teaspoonfuls until mixture is thin enough to drizzle over cake.
- Carefully run small knife around sides of cakes to loosen. Invert cakes onto a platter, then carefully invert again onto another platter, coconut side up. for cup cakes place them into cases.
Using small spoon, drizzle powdered sugar mixture decoratively over cake. Cool cake completely on platter.
Cake can be made up to 1 day ahead. Cover cake and let stand at room temperature.
- Cut cake into wedges and serve with vanilla ice cream.
test-kitchen tip
To make the chocolate chunks, leave the chocolate bars in their wrappers and break up the chocolate with a meat mallet.


Enjoy guys....
If you want to switch up the recipe a little why not try a coconut rum glaze here...
 Rum Glaze
1 cup packed golden brown sugar
1/4 cup water
1/2 cup butter
1/4 cup Malibu rum
or
1 cup powdered sugar,
2 to 3 tbsp malibu rum
2 tbsp water

.JPG)
.JPG)